
Build and save a board report
Choose the sources and audience, add context and preserve a report snapshot.
- Reports
- Build a custom report
Before you start
Check that the source records are up to date and that you may include them for the intended audience.
- Decide what the board needs to understand or decide from the report.
- Check the relevant source records and the audience permitted to see them.
Step by step
Choose the reporting path
Open Reports. Use a relevant report option or Build a custom report for a combined output.
- Choose a report template when it fits the task, or Build a custom report to select layers. Saved reports is where you return to outputs already created.
Choose a report pathExample workspaceEnlarge screenshot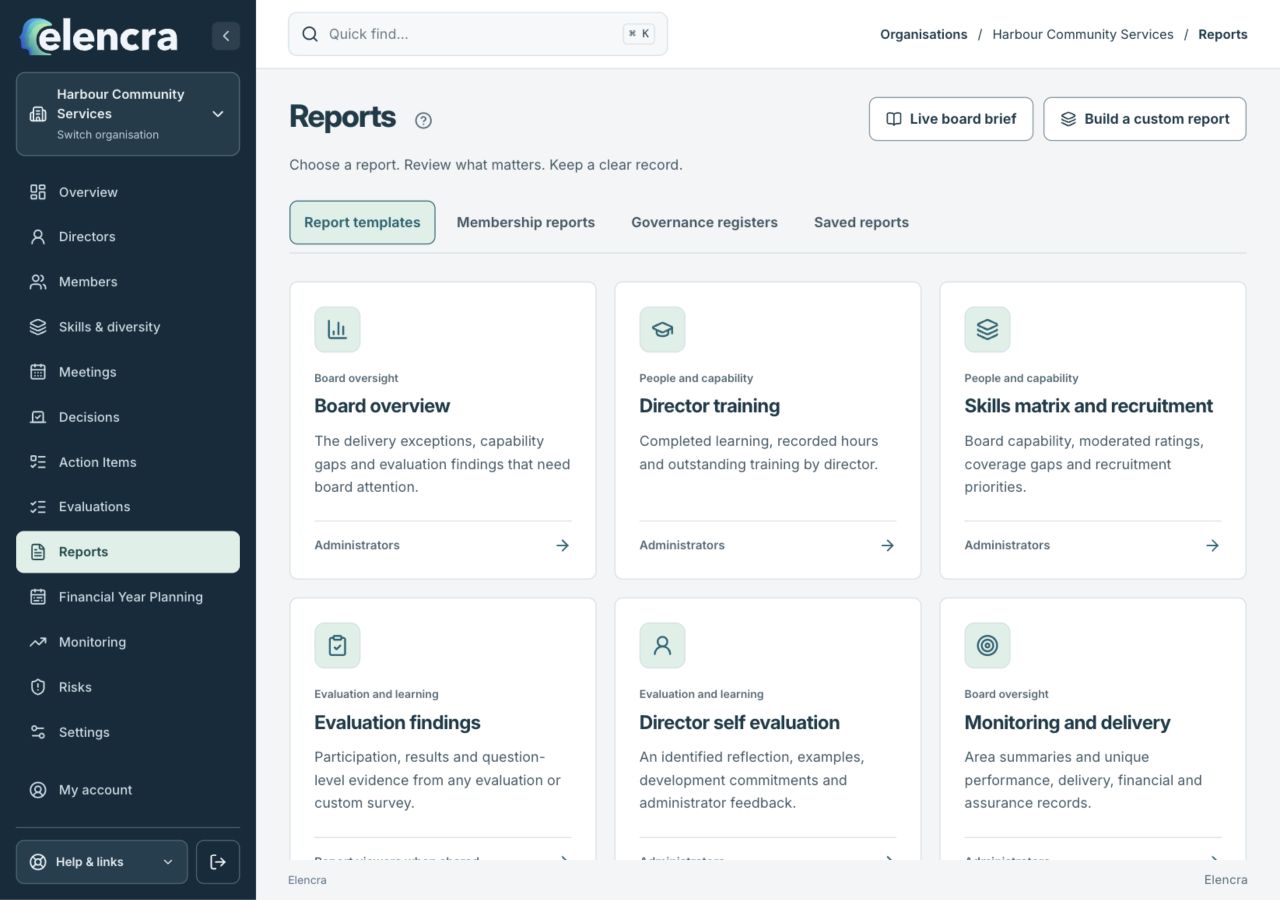
Start from a template or Build a custom report. Return to Saved reports for existing outputs.
Actual app interface with fictional records. Your permissions and screen size may change the options shown.
Set the title and period
Enter Report title, Report year and Australian financial year. Check the intended evaluation or other starting source.
- Use a title that identifies the purpose and period. Review Report year and Australian financial year separately; they are not interchangeable date labels.
Set the title and reporting periodExample workspaceEnlarge screenshot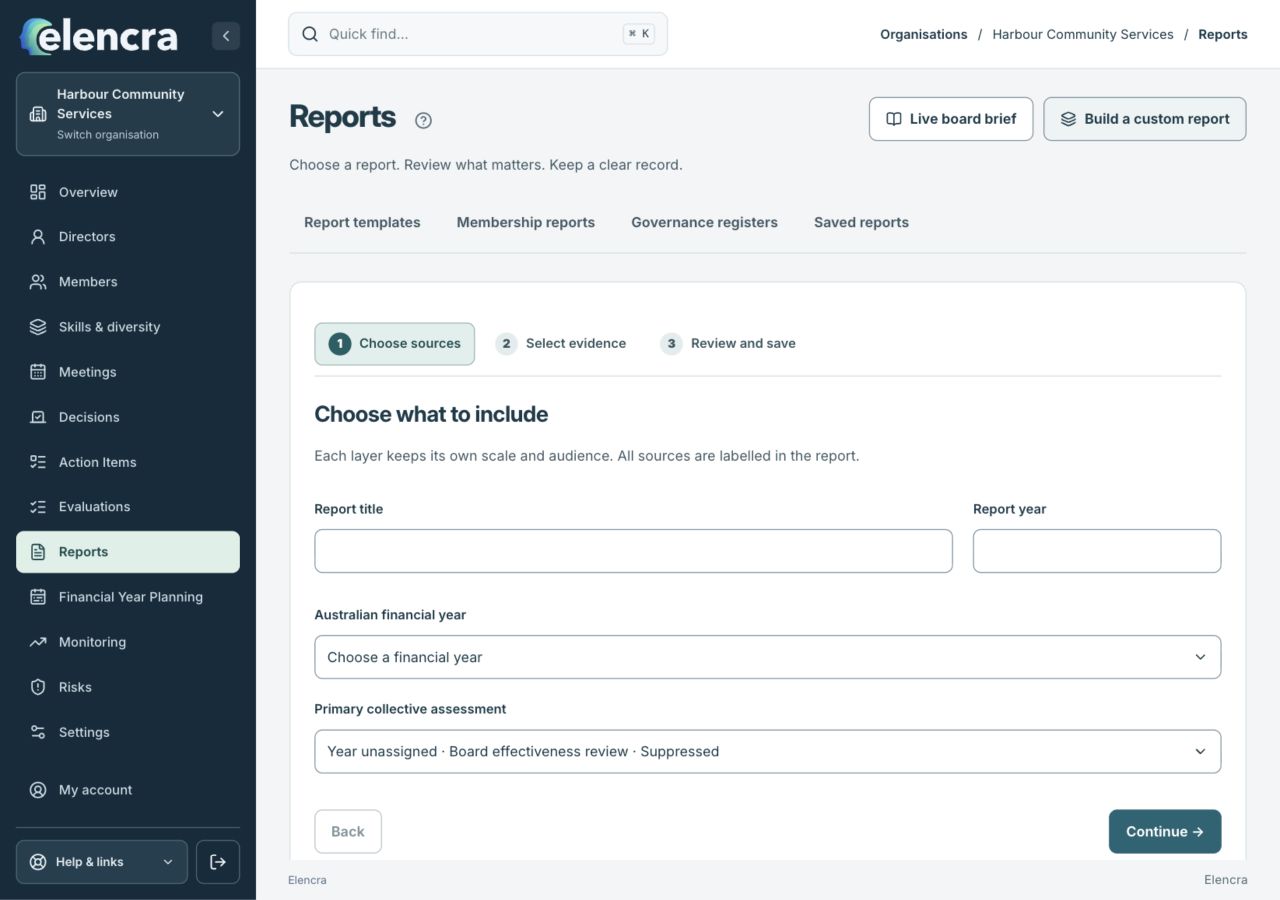
Choose the correct year and financial year before continuing through source selection.
Actual app interface with fictional records. Your permissions and screen size may change the options shown.
Select the evidence
Continue to Select evidence and choose the layers needed for the report. A missing source is not the same as a zero score.
- Continue to Select evidence, then select only the relevant sources. Check names and periods so a current risk update is not accidentally paired with an unrelated older evaluation.
Add board context
Use Summary for the board and the context fields to explain what changed and what the board needs to consider.
- Explain the significance of the evidence in Summary for the board. Identify any missing or withheld information so a reader does not mistake it for a reassuring zero.
Review audience and save
Check Audience, use Preview and choose Save report when ready. Reopen the saved report to confirm its scope and content.
- Review each layer, the audience and the preview. Reopen the saved result before sharing so you can check what the output actually contains.
Review audience before savingExample workspaceEnlarge screenshot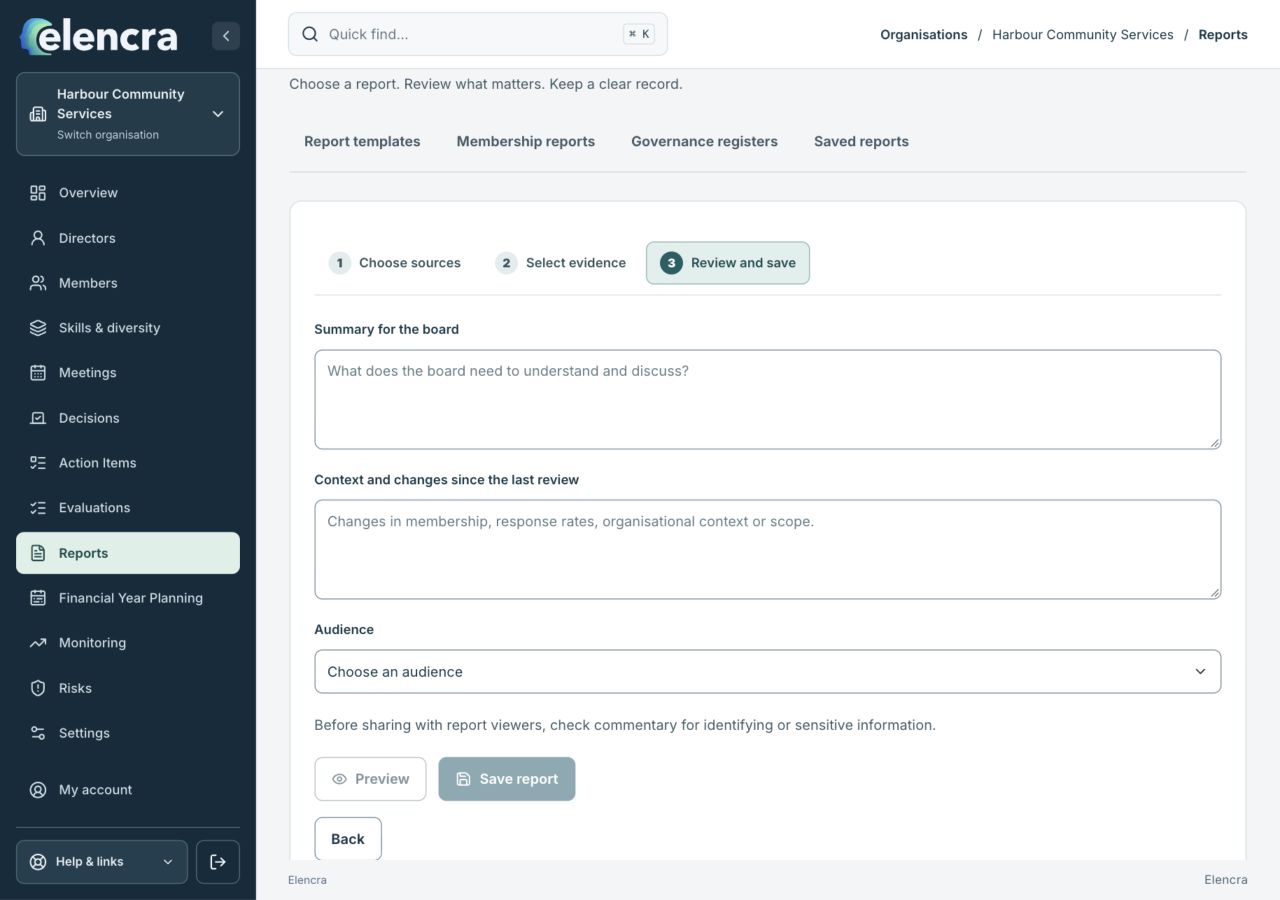
The final builder step keeps audience, preview and save as deliberate controls.
Actual app interface with fictional records. Your permissions and screen size may change the options shown.
For example
A capability report can combine aggregate coverage with an agreed recruitment priority. Include named or personal material only when the selected audience is authorised for it.
What you should see
A saved report preserves the selected evidence and context for a particular review point.
- The saved report contains the intended sources and period.
- Its audience is suitable for all included information.
If something looks different
The live board brief and a saved report snapshot serve different purposes. Update the source records and deliberately create a new snapshot when a later reporting point is needed.
A common question
Will saving a report correct its source records?
No. Check and update the original record in the relevant tool. A report brings information together; its title or narrative should not be used to hide a source error.
Did this help you move forward?
Your response stays in this browser on this device.
Updated 16 November 2026. Your organisation’s permissions and settings can change the options you see.